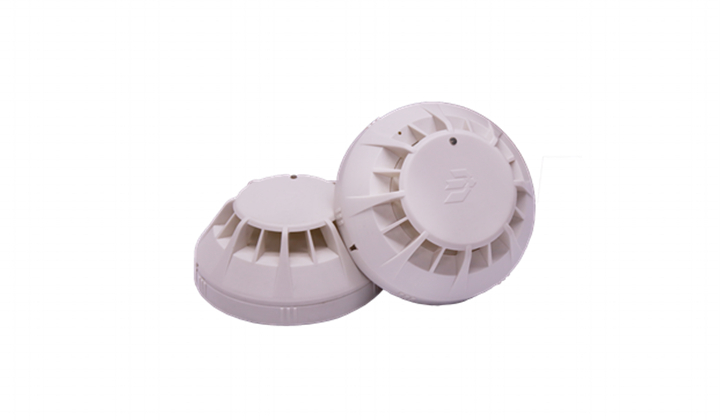
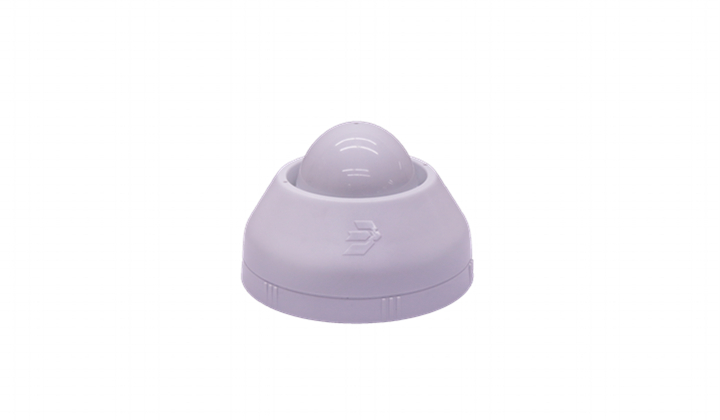
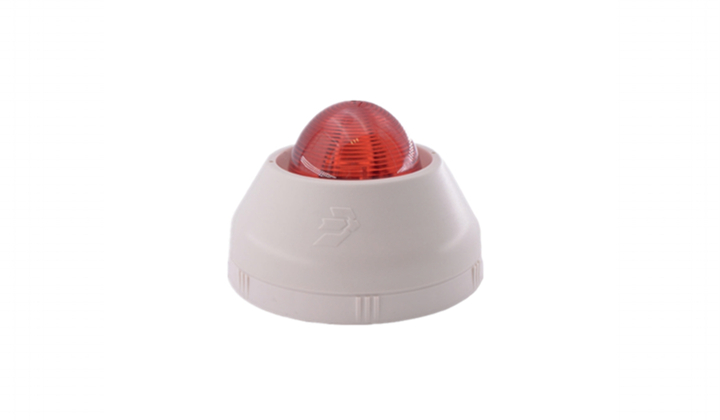
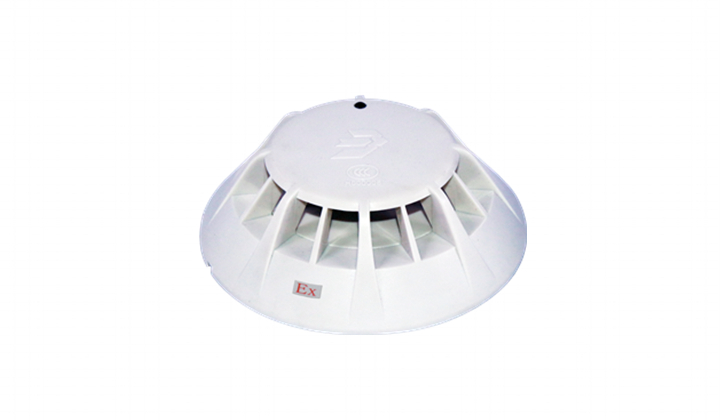
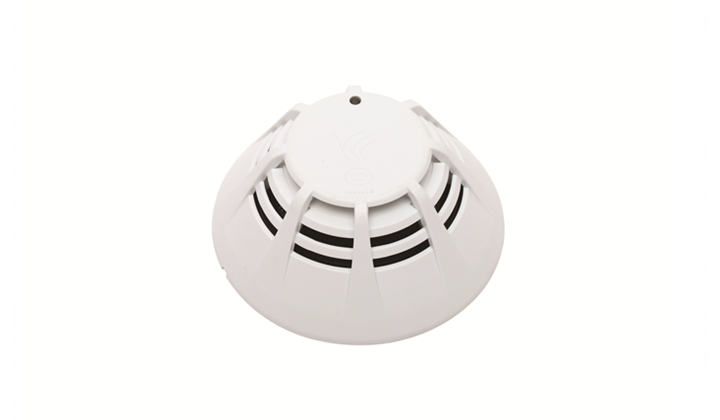
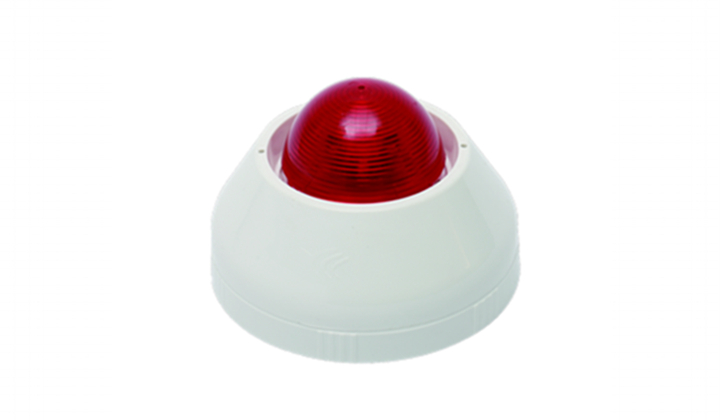
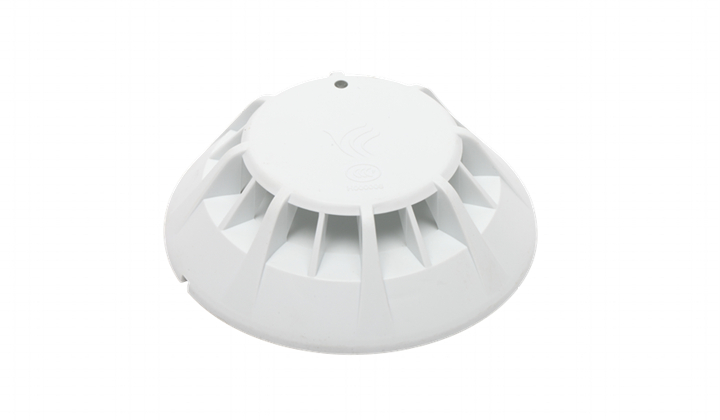
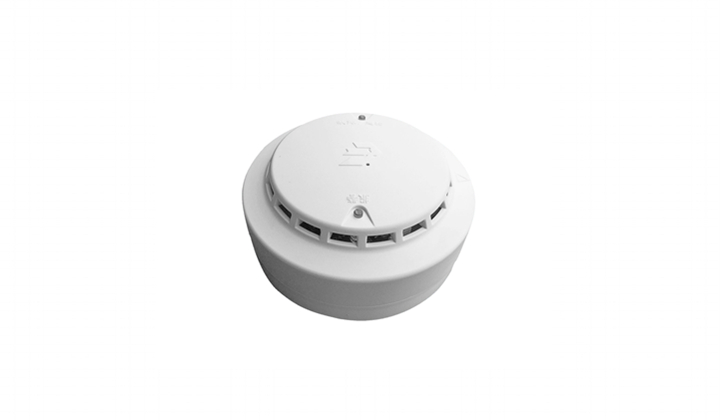
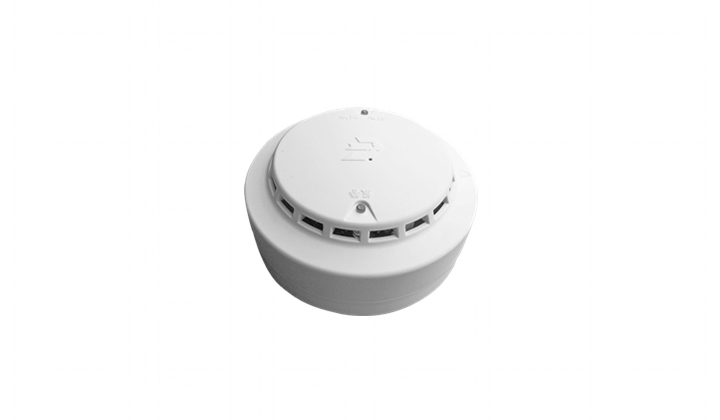
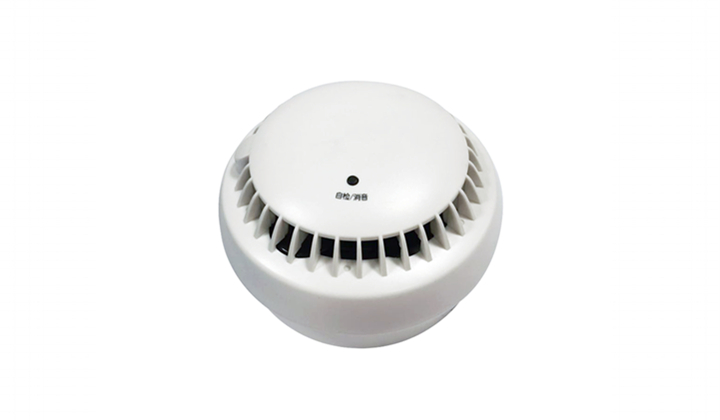
This product is mainly used to detect fire that produce soot particles in its early stages of combustion. It’s suitable for installation in residential area, historical sites, small shopping malls, dance halls and similar places. The best installation location is the ceiling center. The product should not be installed in kitchen, bathroom or any dusty/misty places, and should avoid being adjacent to fireplace, vents, etc. In addition, try to install it away from neon lights, energy-saving lamps and other lighting equipment (safe distance should be bigger than 50cm).Product Features• China Compulsory Certification product;• Optical smoke detection technology, excellent performance;• High sensitivity, high reliability fire alarm;• Rapid response, high decibel warning alarm output;• Very low power consumption. Under normal circumstances single battery can last for 6 years.• Battery leak-proof design, quick and easy installation;• Mobile APP can receive status information in real time
Technical Data
1. Power supply: DC3V (lithium battery CR17450)
2. Monitoring current: <10μA
3. Fire current: <10mA
4. Alarm Volume: >80dB (A)/3m
5. Environment temperature:-10℃~60℃
6. Relative humidity: ≤95% (40℃ without condensation)
7. Dimensions: diameter 100mm, height 53mm
8. Material color: ABS White
9. Weight: 125g (battery not included)
10. Applied standard: GB 20517-2006
Installation
1) Dimensions of the alarm, as shown in figures 1 and 2 (unit: mm) Figure 1 Dimensions Figure 2 Base
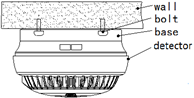
Figure 3 Installation Figure 4 Bolts
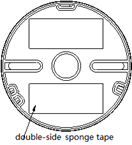
3) Double-side tape position Figure 5 Tape pasting position Figure 6 Double-side tape
4) Installation steps
a) When installing with bolts, the base is mounted to the roof with bolts, and the indicator facing an easy-to-observe direction (e.g. doorway).
b) When installing with double-sided adhesive, clean the place that to use adhesive, making it smooth, dry and clean. Press the base to this cleaned place using the double-sided adhesive provided in the package for 1 minute (indicator facing an easy-to-observe direction, e.g. the door).
c) Place the battery in the battery compartment according to the positive and negative poles, and then start the detector self-test.
Self-test: the detector immediately flashes once after it is on power, indicating successful power-on and that it’s ready for configuration and board level self-test. Press hold the indicator to start self-test. Three seconds later, the indicator flashes in three colors, and issues alarm light and sound. Release the indicator and the detector goes into normal operation. Note: After the detector is powered on, please carry out the above self-test to ensure that the indicator, light and sound alarm functions are in right state, and the detector has entered normal operation. If there is no light or sound signal given, please remove the battery, check the battery buckle contact, and re-power it to conduct self-test again.
d) Finally, mount the detector onto its base, and turn it clockwise 15°to tighten.• Regular alarm inspection, at least every 6 months.• If not used for a long time, the detector should be stored in a box with battery removed.